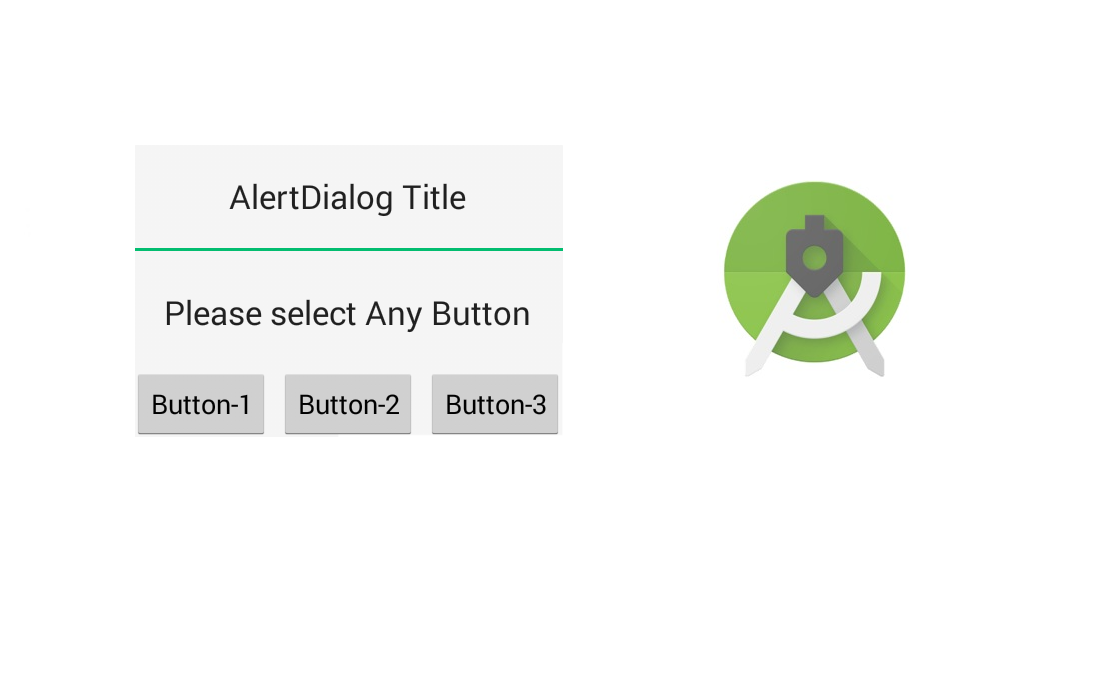
Android Studio AlertDialog Kullanımı
AlertDialog uygulamamızda yeni bir küçük pencere oluşturup yönlendirme yapmamıza olanak sağlar. İki şekilde tıklama seçeneği yerine ( Evet ve Hayır ) tek seçenek yapmakta mümkün onun için de setNegativeButton veya setPositiveButton fonksiyonundan birini kaldırmamız yeterli olacaktır. Daha fazla tıklama seçenekleri de mevcut ancak şu an kolay anlaşılması için iki seçenek kullanılarak örnek yapalım. activity_main.xml
|
1 2 3 4 5 6 7 8 9 10 11 12 13 14 15 16 17 18 19 20 21 22 23 24 25 26 27 28 29 30 31 32 33 34 35 36 |
<?xml version="1.0" encoding="utf-8"?> <android.support.constraint.ConstraintLayout xmlns:android="http://schemas.android.com/apk/res/android" xmlns:app="http://schemas.android.com/apk/res-auto" xmlns:tools="http://schemas.android.com/tools" android:layout_width="match_parent" android:layout_height="match_parent" tools:context="com.example.esatgozcu.alertdialogkullanimi.MainActivity"> <LinearLayout android:layout_width="match_parent" android:layout_height="match_parent" android:orientation="vertical" android:paddingTop="150dp"> <TextView android:id="@+id/textView" android:layout_width="match_parent" android:layout_height="wrap_content" android:text="Alert Dialog Kullanımı" android:textAlignment="center" android:textColor="@android:color/black" android:textSize="24sp" /> <Button android:id="@+id/button" android:layout_width="match_parent" android:layout_height="wrap_content" android:layout_marginLeft="80dp" android:layout_marginRight="80dp" android:layout_marginTop="20dp" android:background="@android:color/black" android:text="Git" android:textColor="@android:color/white" android:textSize="24sp" /> </LinearLayout> </android.support.constraint.ConstraintLayout> |
…
Devamı
SON YORUMLAR